2/18/18
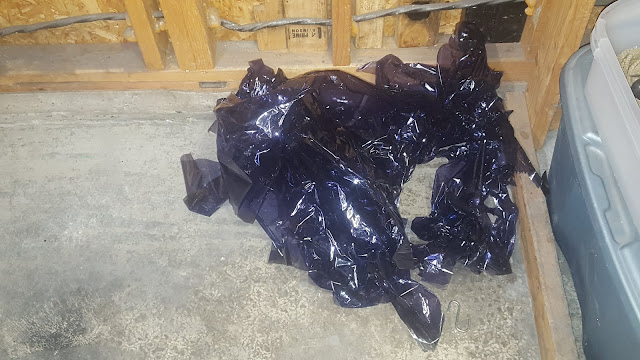
I knew the tint needed to go. The back window was peeling as was one of the side windows. Having removed the tint on my own vehicle years back, I knew the only way to accomplish the task was to use a steamer. Unfortunately it makes a huge mess and it is easier to do with the windows out that in. I needed to replace all the window rollers anyway so out they came.
Removing the door windows really isn't that difficult. Once free, I put them on my workbench and removed the tint using the steamer. Thankfully the tint came off with very little effort as I hoped. I then flipped the windows over and polished them using my buffer. No cleaners I possessed was capable of cleaning them. The buffer made short work of it.
At this point I removed the old window slides installed the new rollers. 3 of the 8 were already broken so it needed to be done. The new roller design is 100x better than the old ones but a real bear to install when installed in the door.

Now comes the work! The back window was a nightmare. There were 2 layers of tint and it wouldn't release. I spent the better part of a day removing the tint in small strips piece by piece. When I finally finished, I celebrated with an ice cold beer.

I knew the tint needed to go. The back window was peeling as was one of the side windows. Having removed the tint on my own vehicle years back, I knew the only way to accomplish the task was to use a steamer. Unfortunately it makes a huge mess and it is easier to do with the windows out that in. I needed to replace all the window rollers anyway so out they came.
Removing the door windows really isn't that difficult. Once free, I put them on my workbench and removed the tint using the steamer. Thankfully the tint came off with very little effort as I hoped. I then flipped the windows over and polished them using my buffer. No cleaners I possessed was capable of cleaning them. The buffer made short work of it.

At this point I removed the old window slides installed the new rollers. 3 of the 8 were already broken so it needed to be done. The new roller design is 100x better than the old ones but a real bear to install when installed in the door.

Now comes the work! The back window was a nightmare. There were 2 layers of tint and it wouldn't release. I spent the better part of a day removing the tint in small strips piece by piece. When I finally finished, I celebrated with an ice cold beer.

WOW! Hard to believe that's my car. Great job!
ReplyDelete